Configuring a static website on Amazon S3
Scenario
Kofi has been assigned a task at his tech startup to configure a static website on Amazon S3. The website will be used to distribute media content, which can be assessed by users via a URL. To achieve the goal, Kofi followed the steps outlined below:
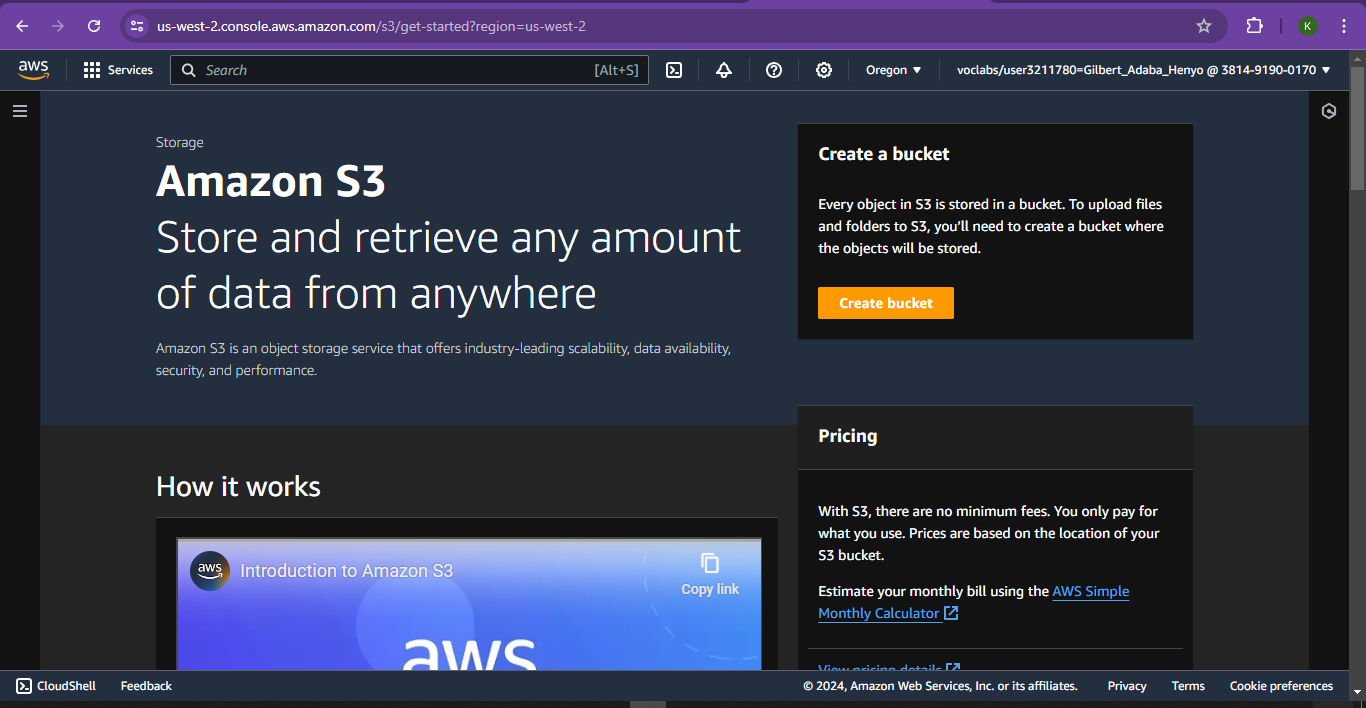
Step 1: Create a bucket
- Sign in to the AWS Management Console and open the Amazon S3 console at here.
- Choose Create bucket.
- Enter a globally unique Bucket name.
- Choose a Region that is geographically close to minimize latency and costs, or to address regulatory requirements.
- Select create bucket to accept the default settings and create the bucket.


Step 2: Enable static website hosting
- Select and open the bucket to be used for the hosting, open the properties tab
- Under Static website hosting, choose Edit.
- Under Static website hosting, choose Enable and Host a static website under the Hosting type.
- In Index and Error documents, enter the file name of the index and error document, typically index.html and error.html (remember these are case sensitive).
- (Optional) You can use JSON to describe the rules to specify advanced redirection rules, under the Redirection rules segment.
- Choose Save changes.
- At the bottom of the page, under Static website hosting, the website endpoint for the bucket is displayed, this is the URL that can be used to access the website.


Step 3: Edit Block Public Access settings
- Select the Permissions tab.
- Under Block public access (bucket settings), choose Edit.
- Clear Block all public access, and choose Save changes.


Step 4: Add a bucket policy that makes your bucket content publicly available
- Still under Permissions.
- Under Bucket Policy, choose Edit.
- To grant public read access for your website, copy the following bucket policy, and paste it in the Bucket policy editor.
{ "Version": "2012-10-17", "Statement": [ { "Sid": "PublicReadGetObject", "Effect": "Allow", "Principal": "*", "Action": [ "s3:GetObject" ], "Resource": [ "arn:aws:s3:::Bucket-Name/*" ] } ] }- Update the Resource in the above policy to your bucket name.
- Choose Save changes.
- If an error that says Policy has invalid resource is displayed, confirm that the bucket name in the bucket policy matches your bucket name.
- If you get an error message and cannot save the bucket policy, check your account and bucket Block Public Access settings to confirm that public access to the bucket is allowed.


Step 5: Configure an index document
- To upload the index document to the bucket, do one of the following:
- Drag and drop the index file into the console bucket listing.
- Choose Upload, and follow the prompts to choose and upload the index file.
- (Optional) Upload other website content to your bucket.

Step 6: Configure an error document
- If there is an error document, follow the steps in Step 5 to upload and configure the error document.
Step 7: Test your website endpoint
- From Step 2, under Static website hosting, select and open the Bucket website endpoint.
- The index document opens in a separate browser window.
Step 8: Clean up
If the static website was created only as a learning exercise, delete the AWS resources allocated so charges are not accrued. Upon deletion, the website is no longer available. And with that, Kofi successfully configured a static website on Amazon S3.

Comments
Post a Comment